Creating organic shapes with Autodesk Fusion 360
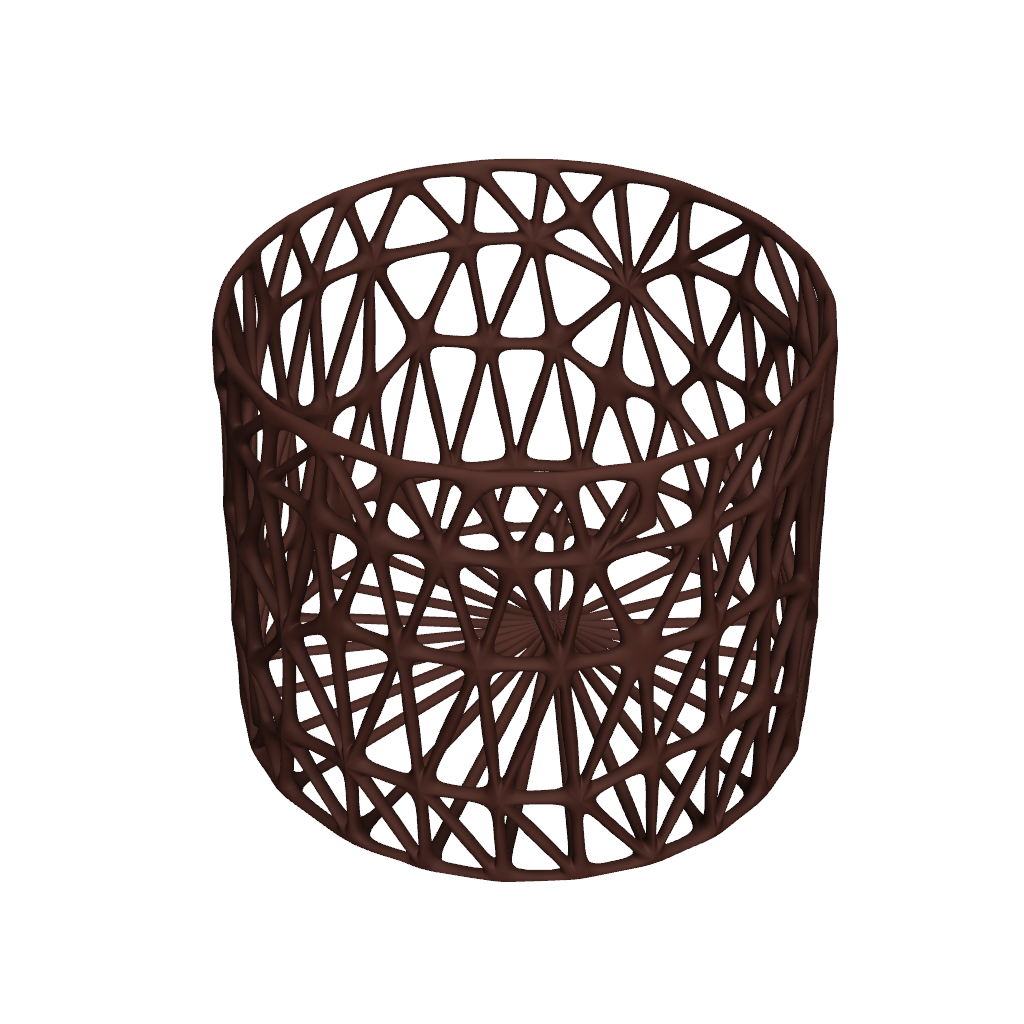
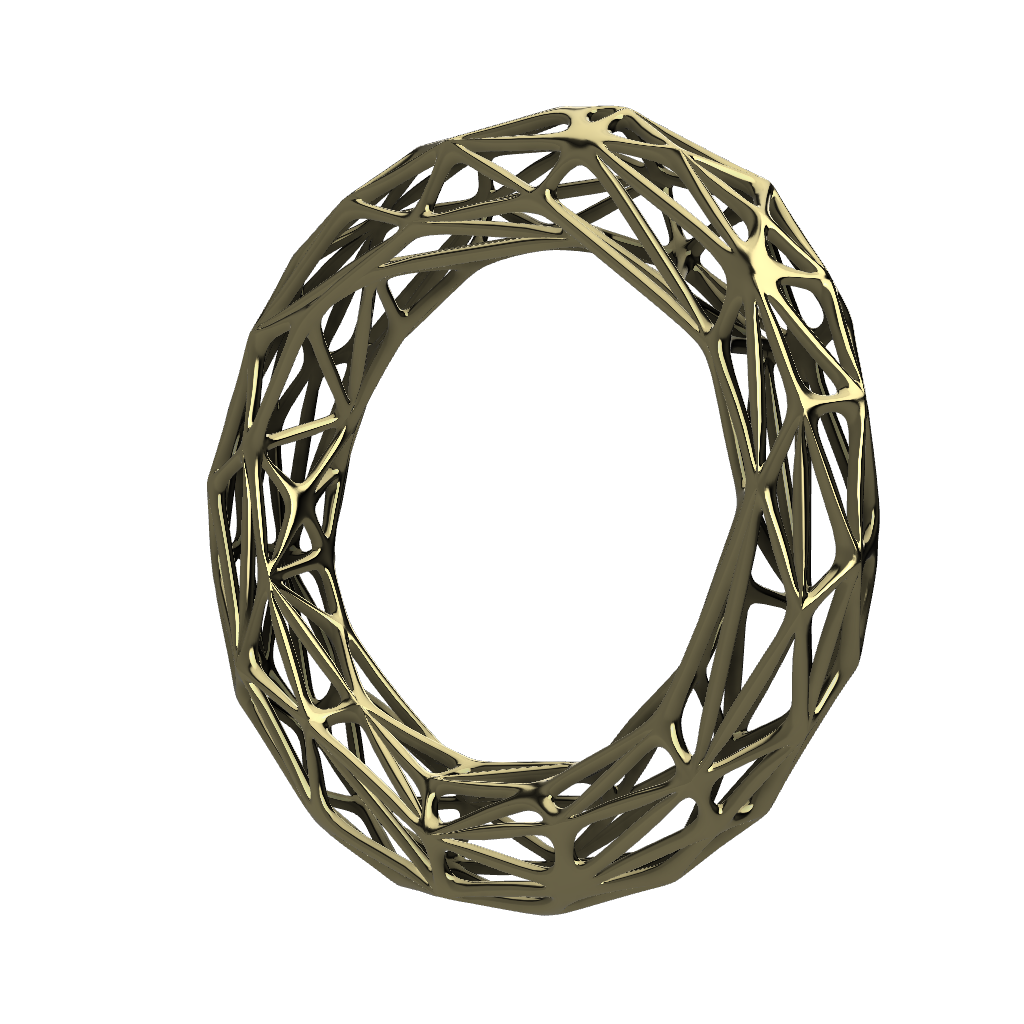
Through a bit of trial and era and a few YouTube videos, I have learned to model an abstract vase using Autodesk Fusion 360. These are typical vases as their sides have a spider web-like design holding them together. Let's make something like the one pictured below.
Getting Started
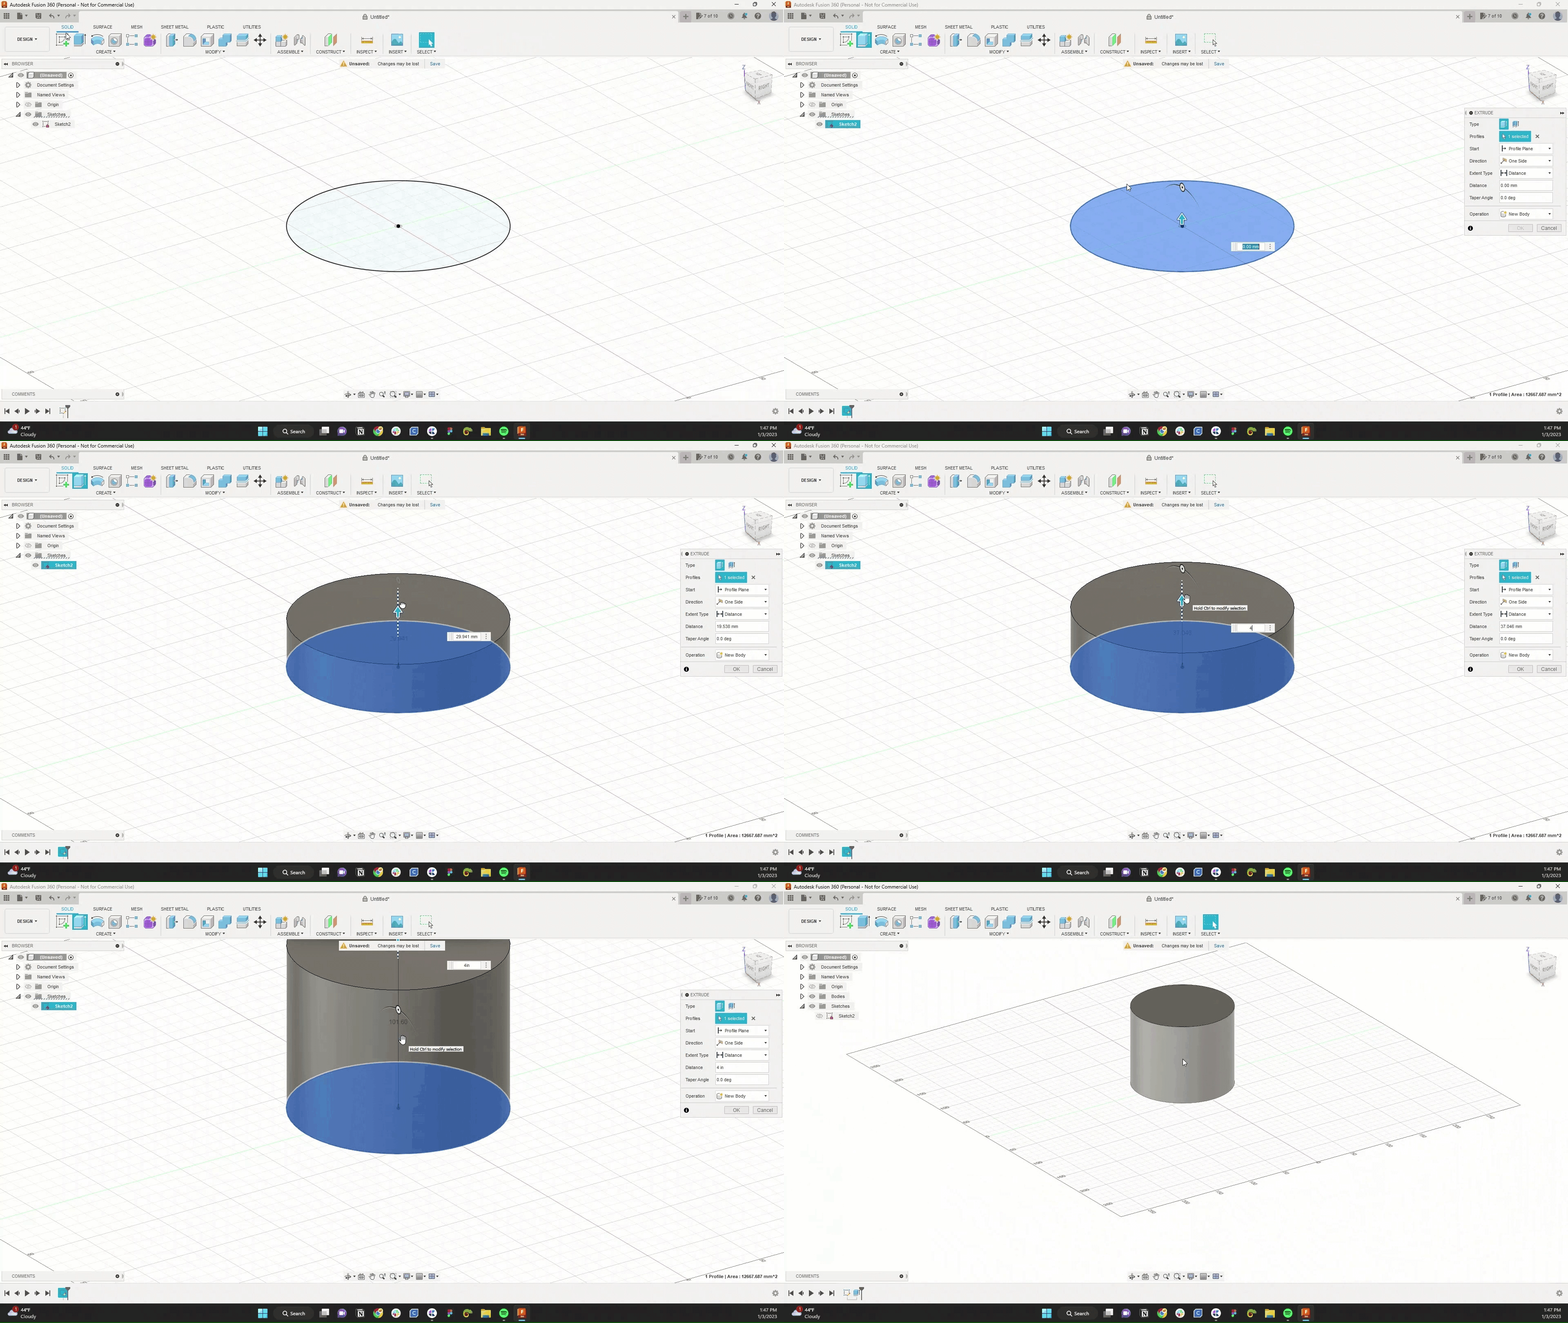
To start, we'll create a solid object using a sketch on the bottom plane.
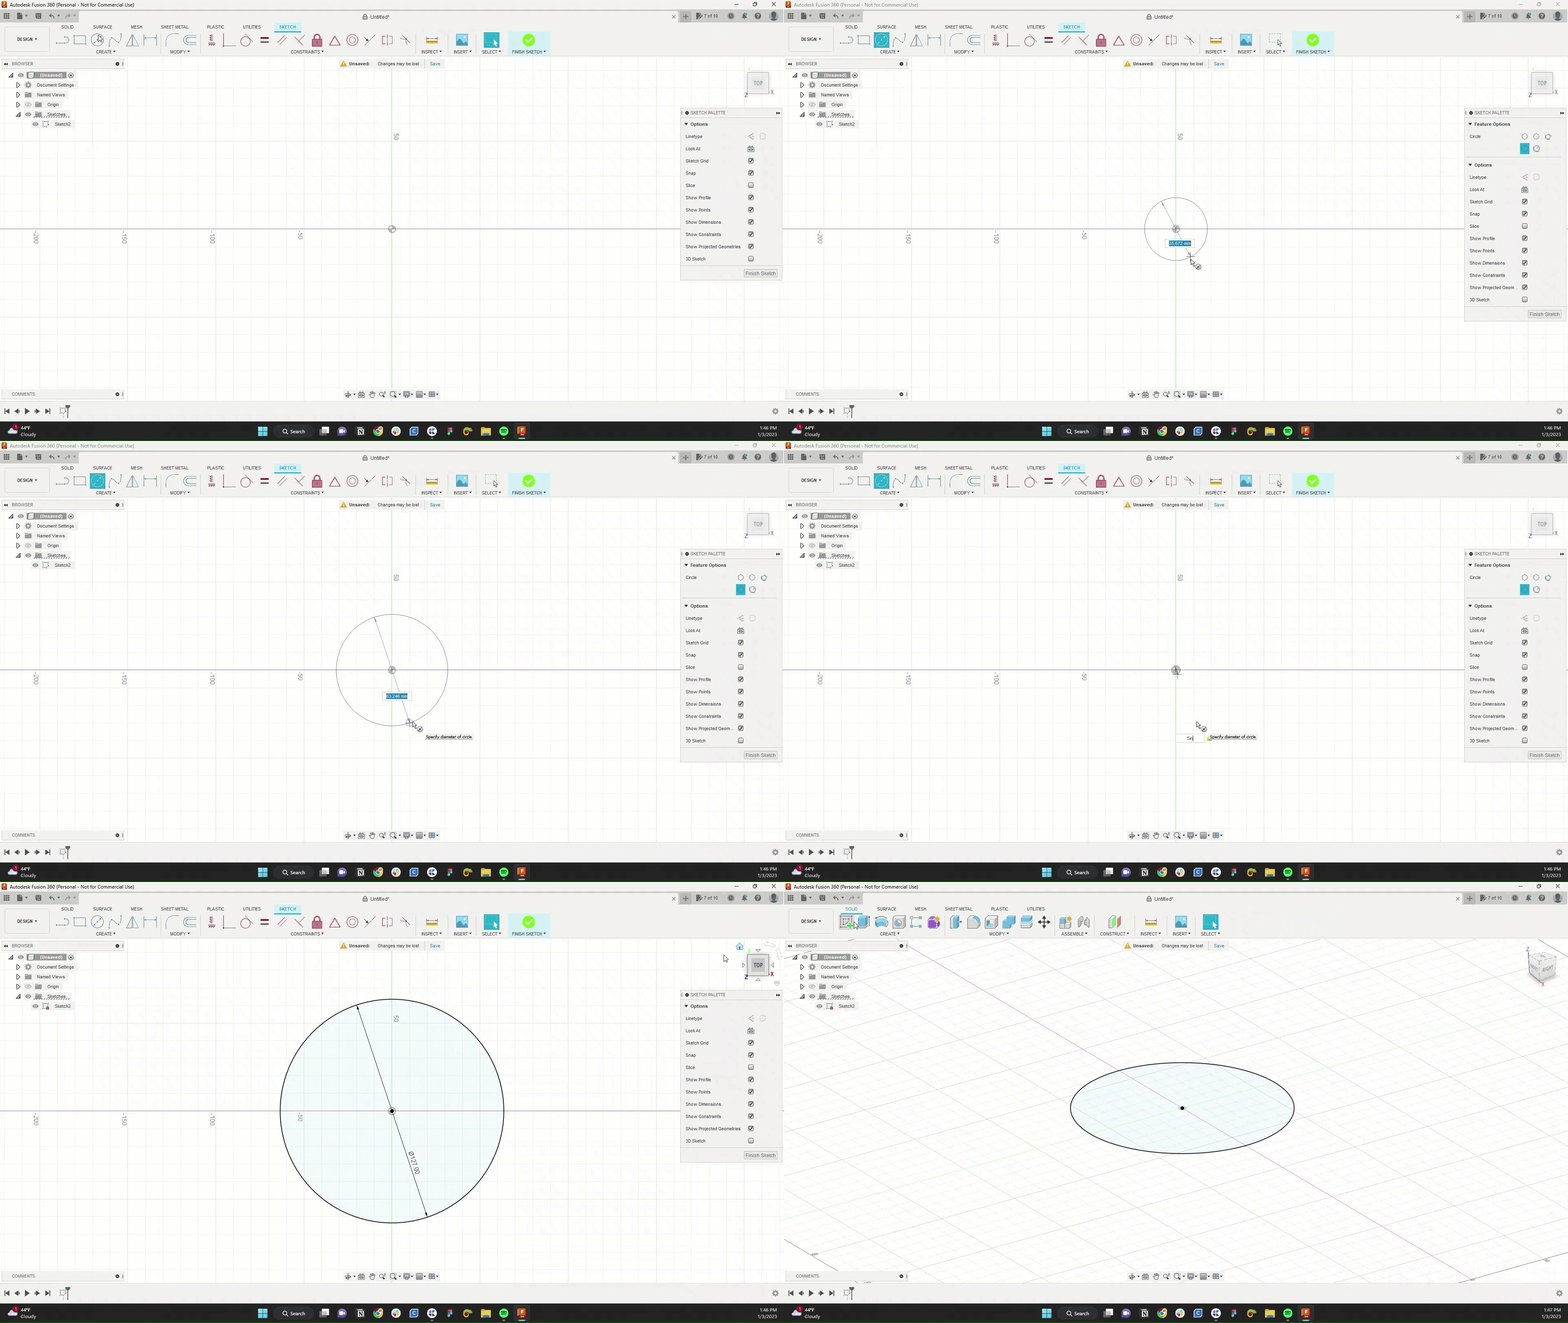
This object could also derive from a form converted into a solid.
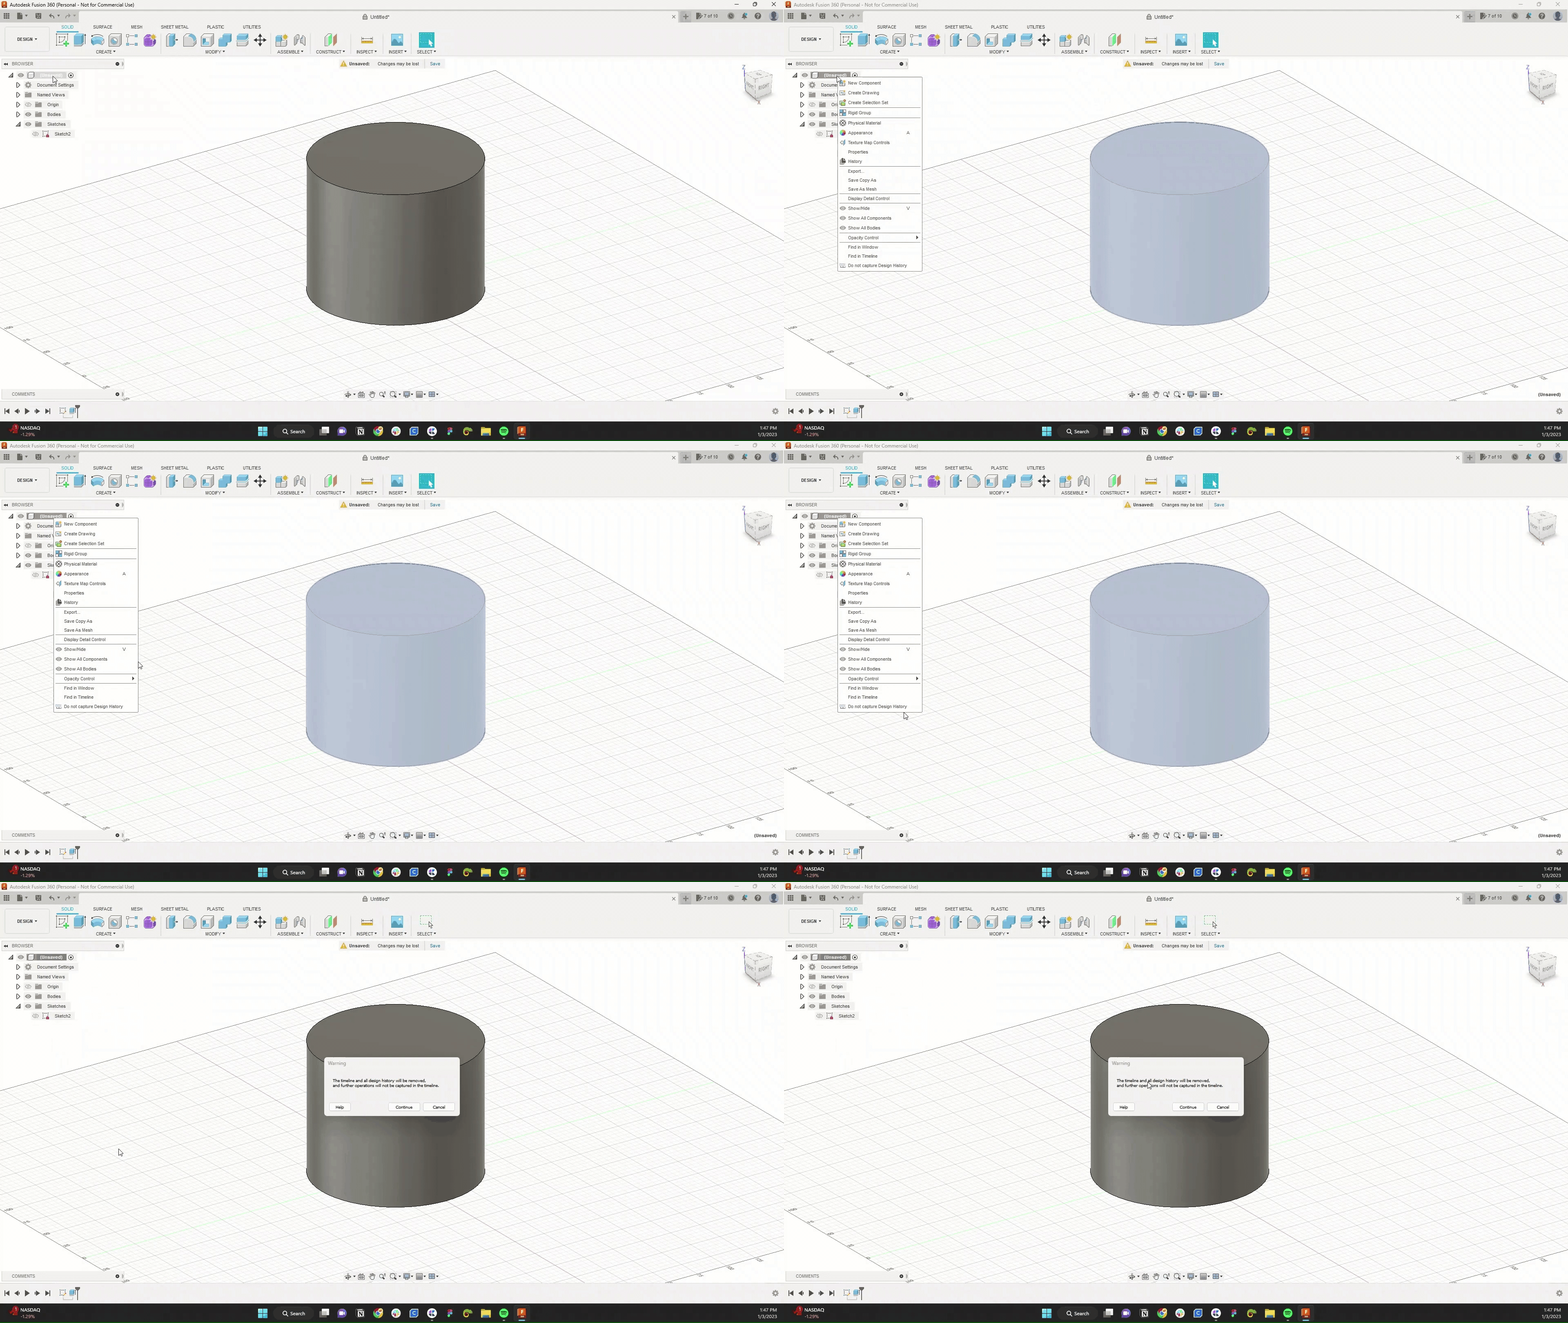
Before we keep going, let's be sure to turn off Capture Design History.
Next, let's convert our solid to a mesh. Under the mesh tab, you'll find the tessellate, the star of today's project. This will convert your solid object into a mesh body.
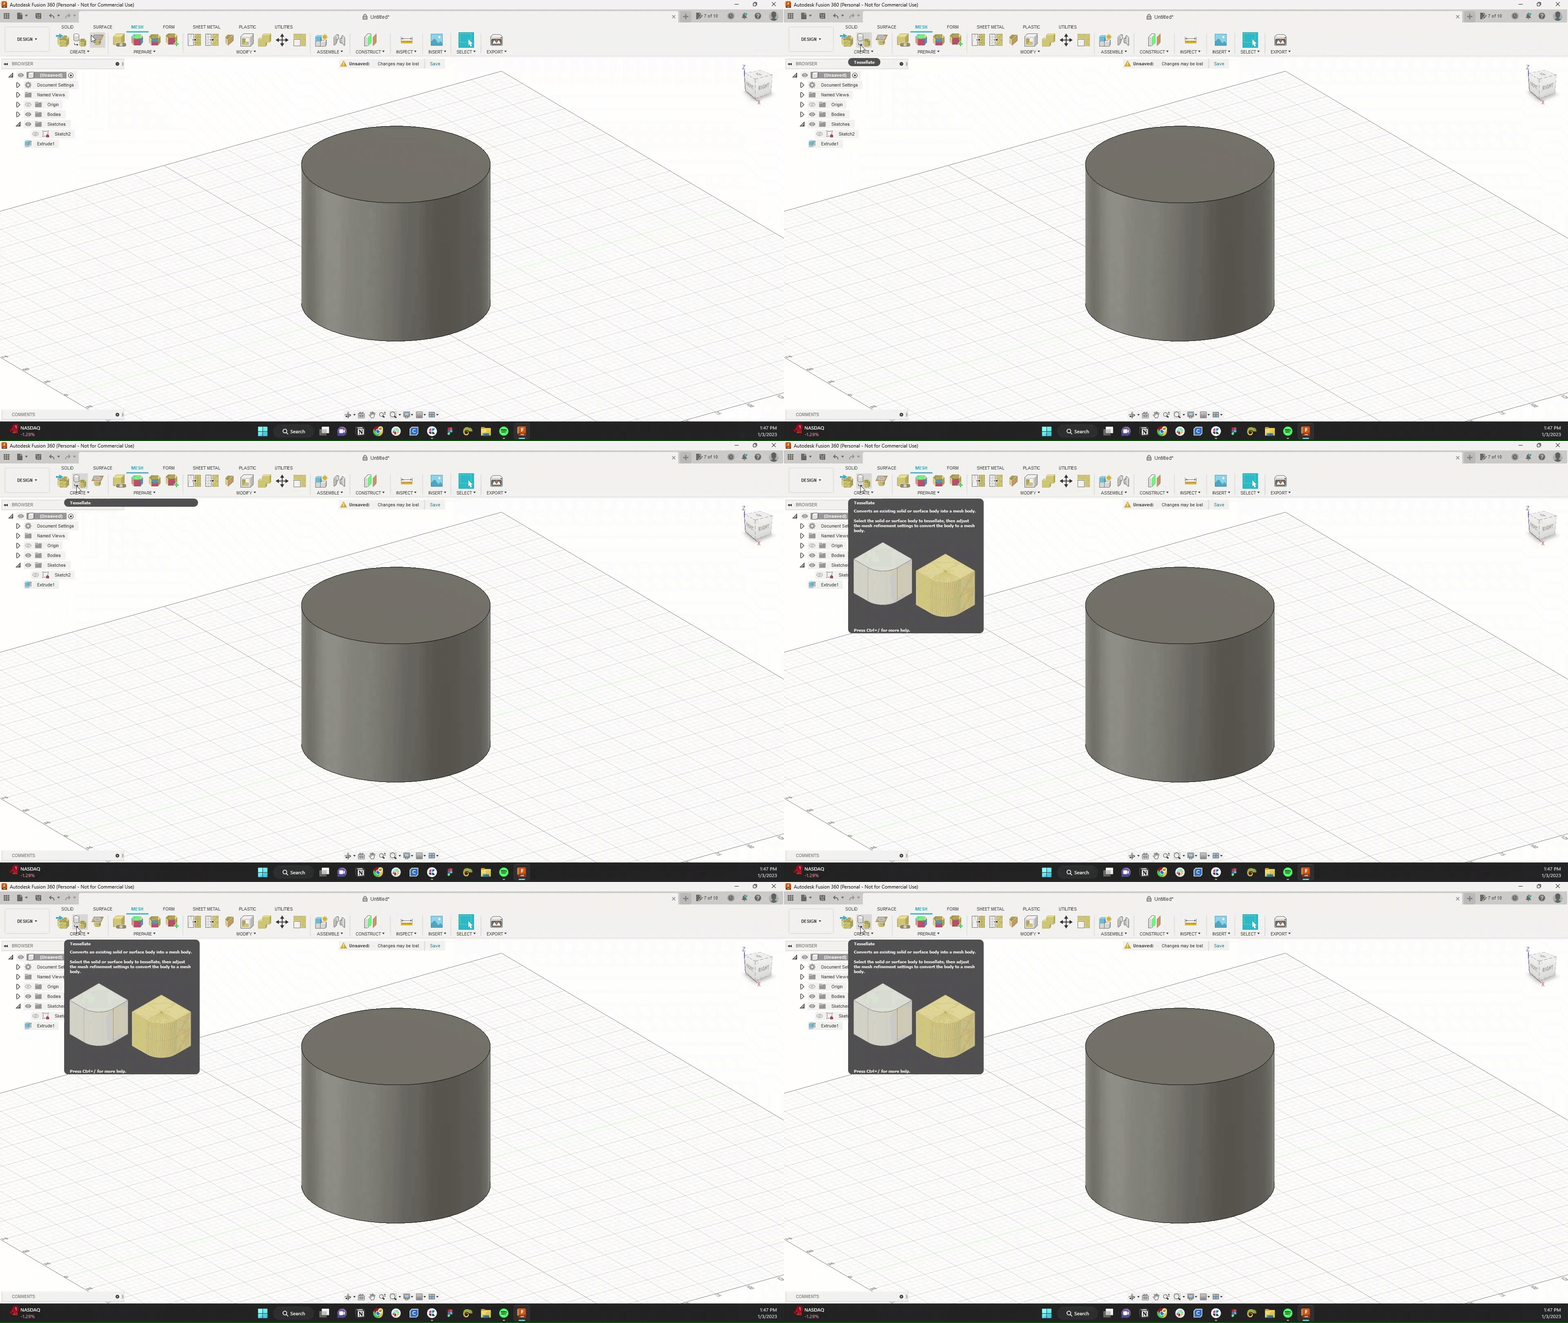
You should check the box next to preview to see your newly meshed lines.
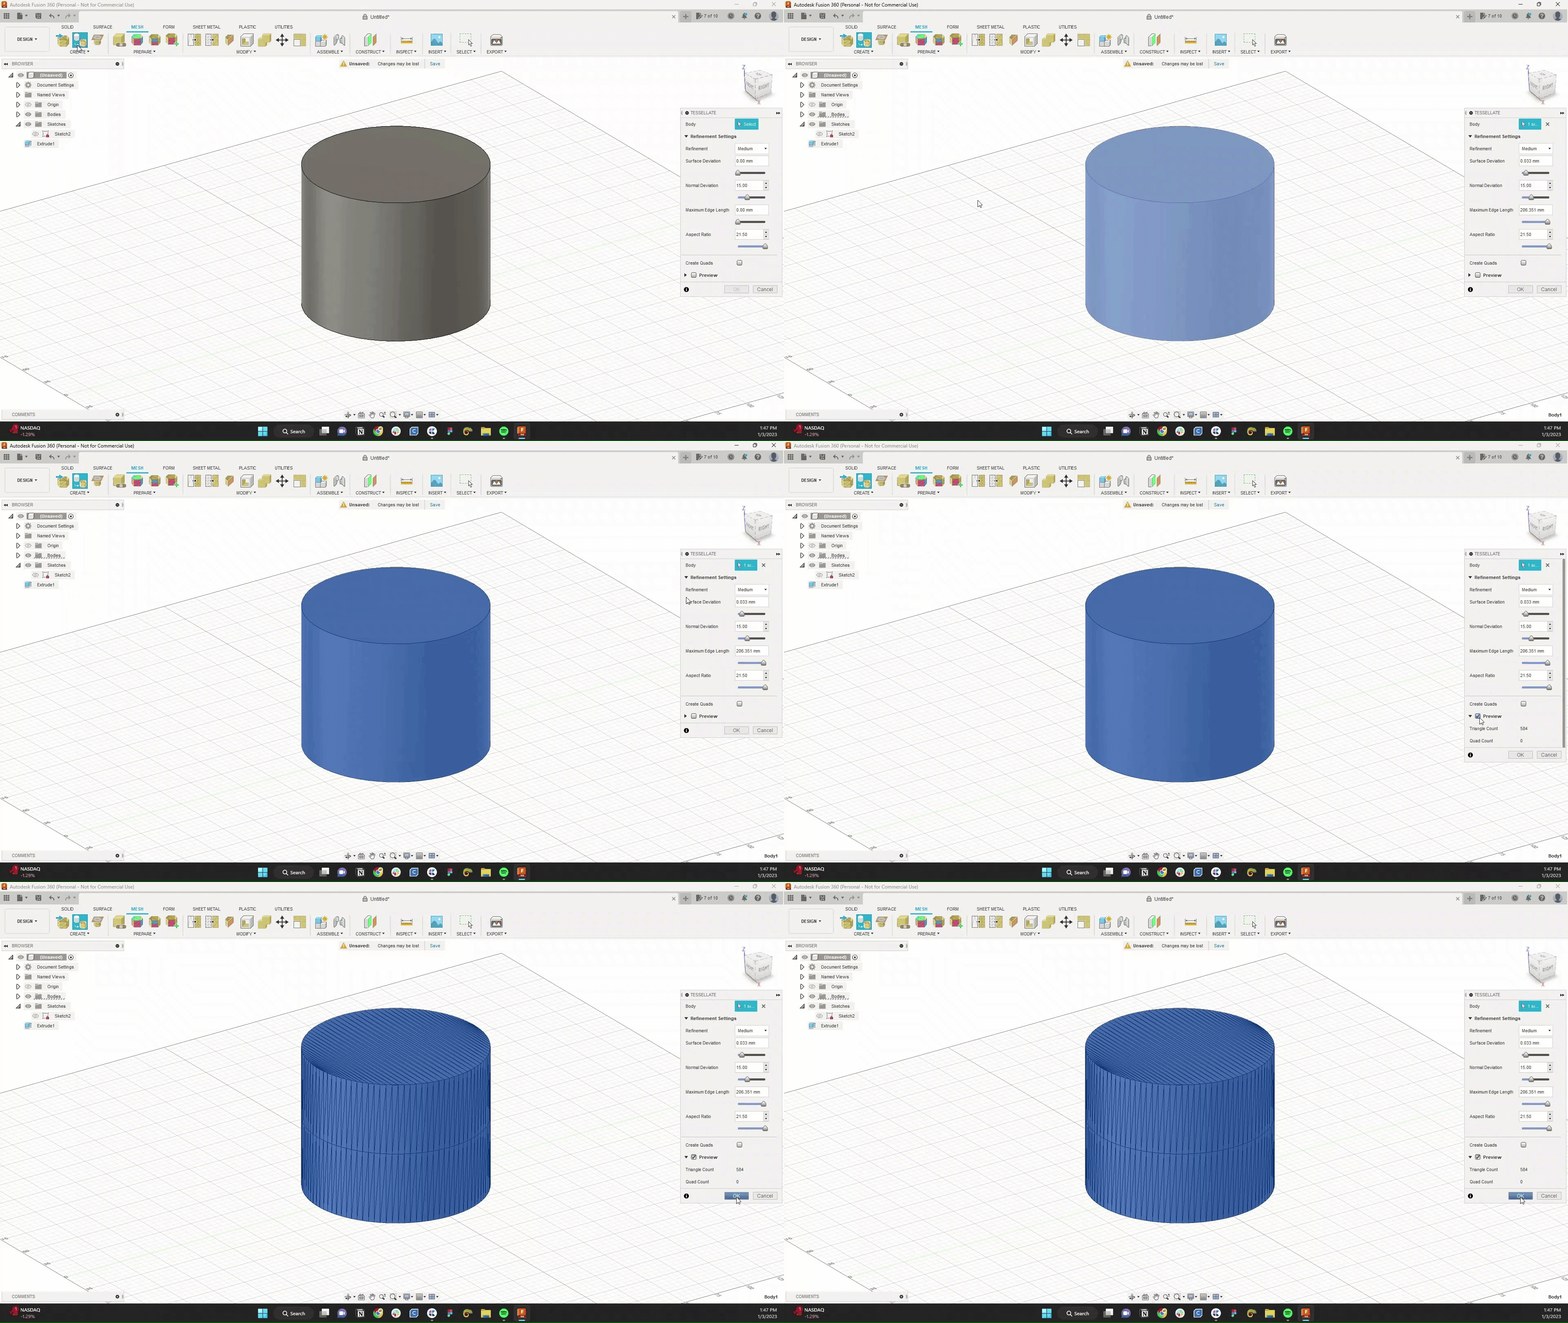
Use the remesh tool to mix up the mesh lines. Again, check the preview box to see your changes update in real-time. Increase the sharp preservation the preserve the original shape of the object.
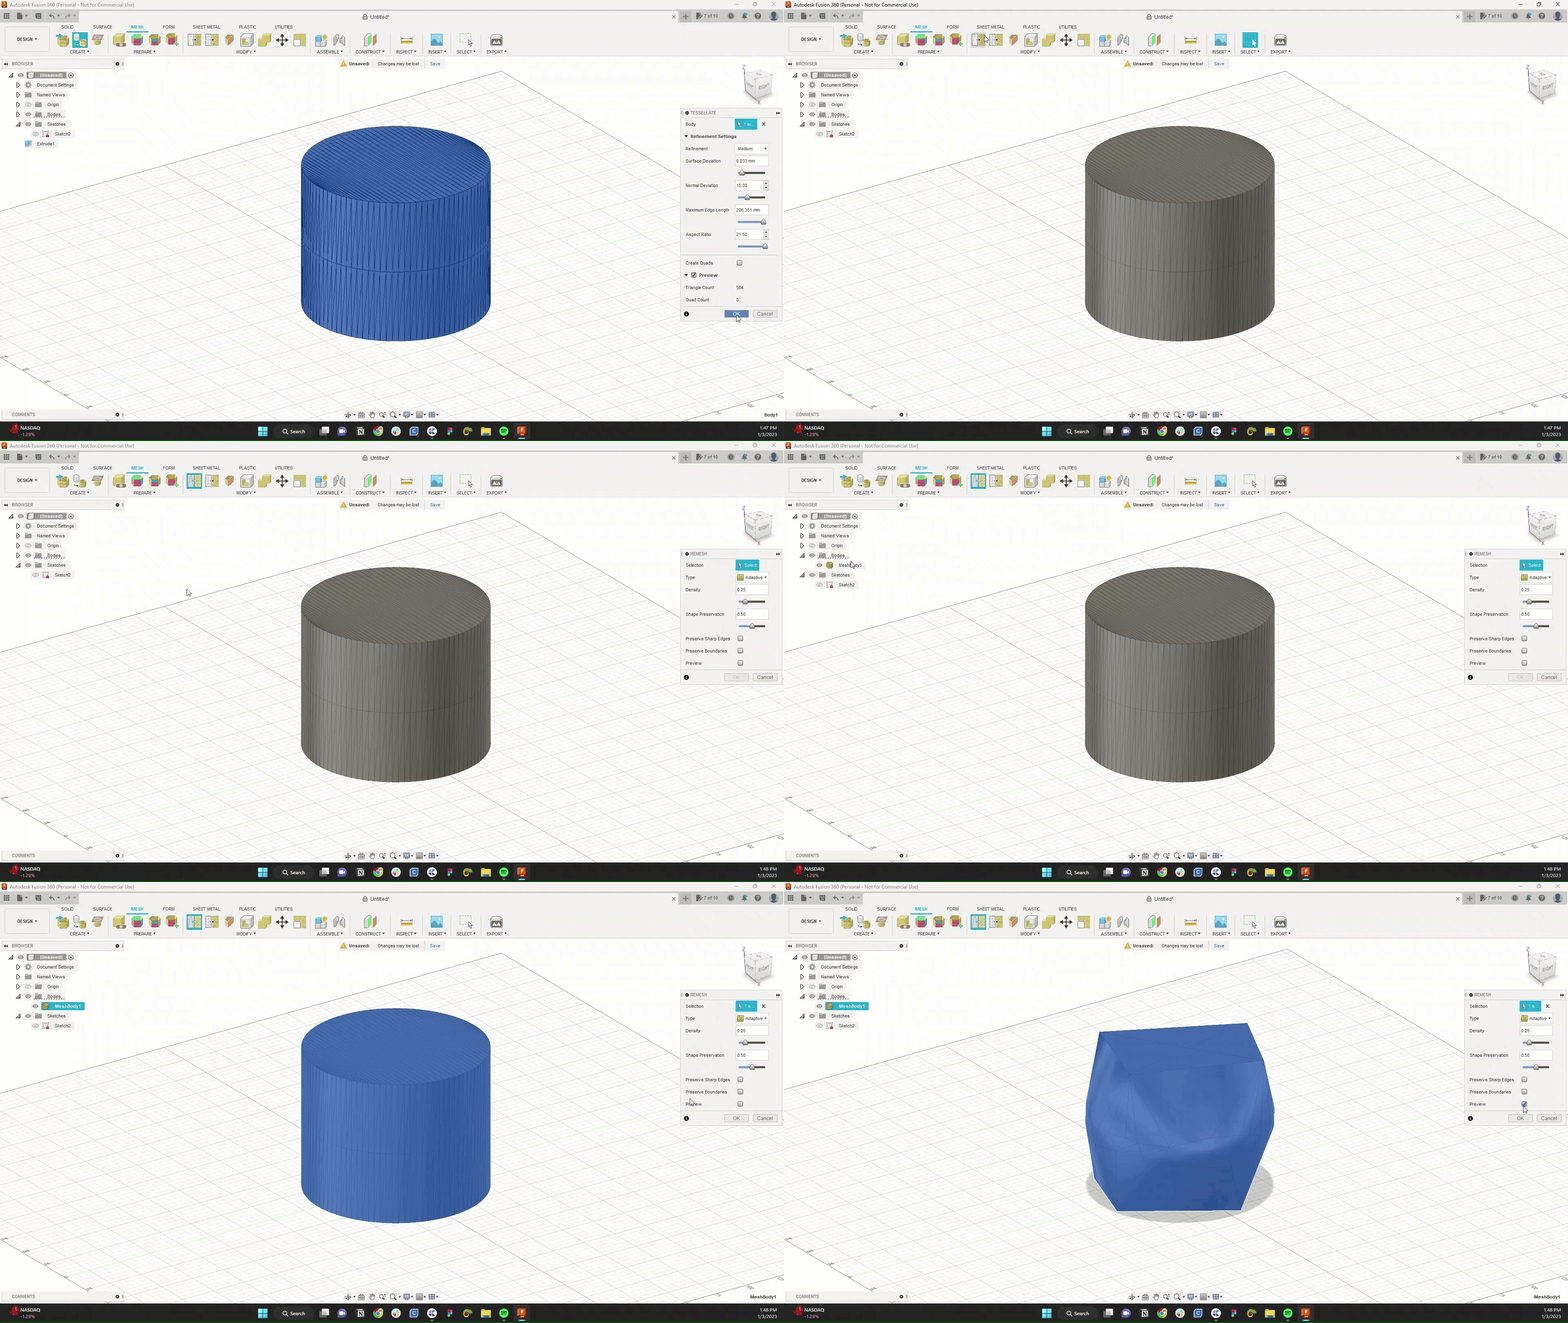
Using the reduce tool, we'll decrease the number of mess lines.
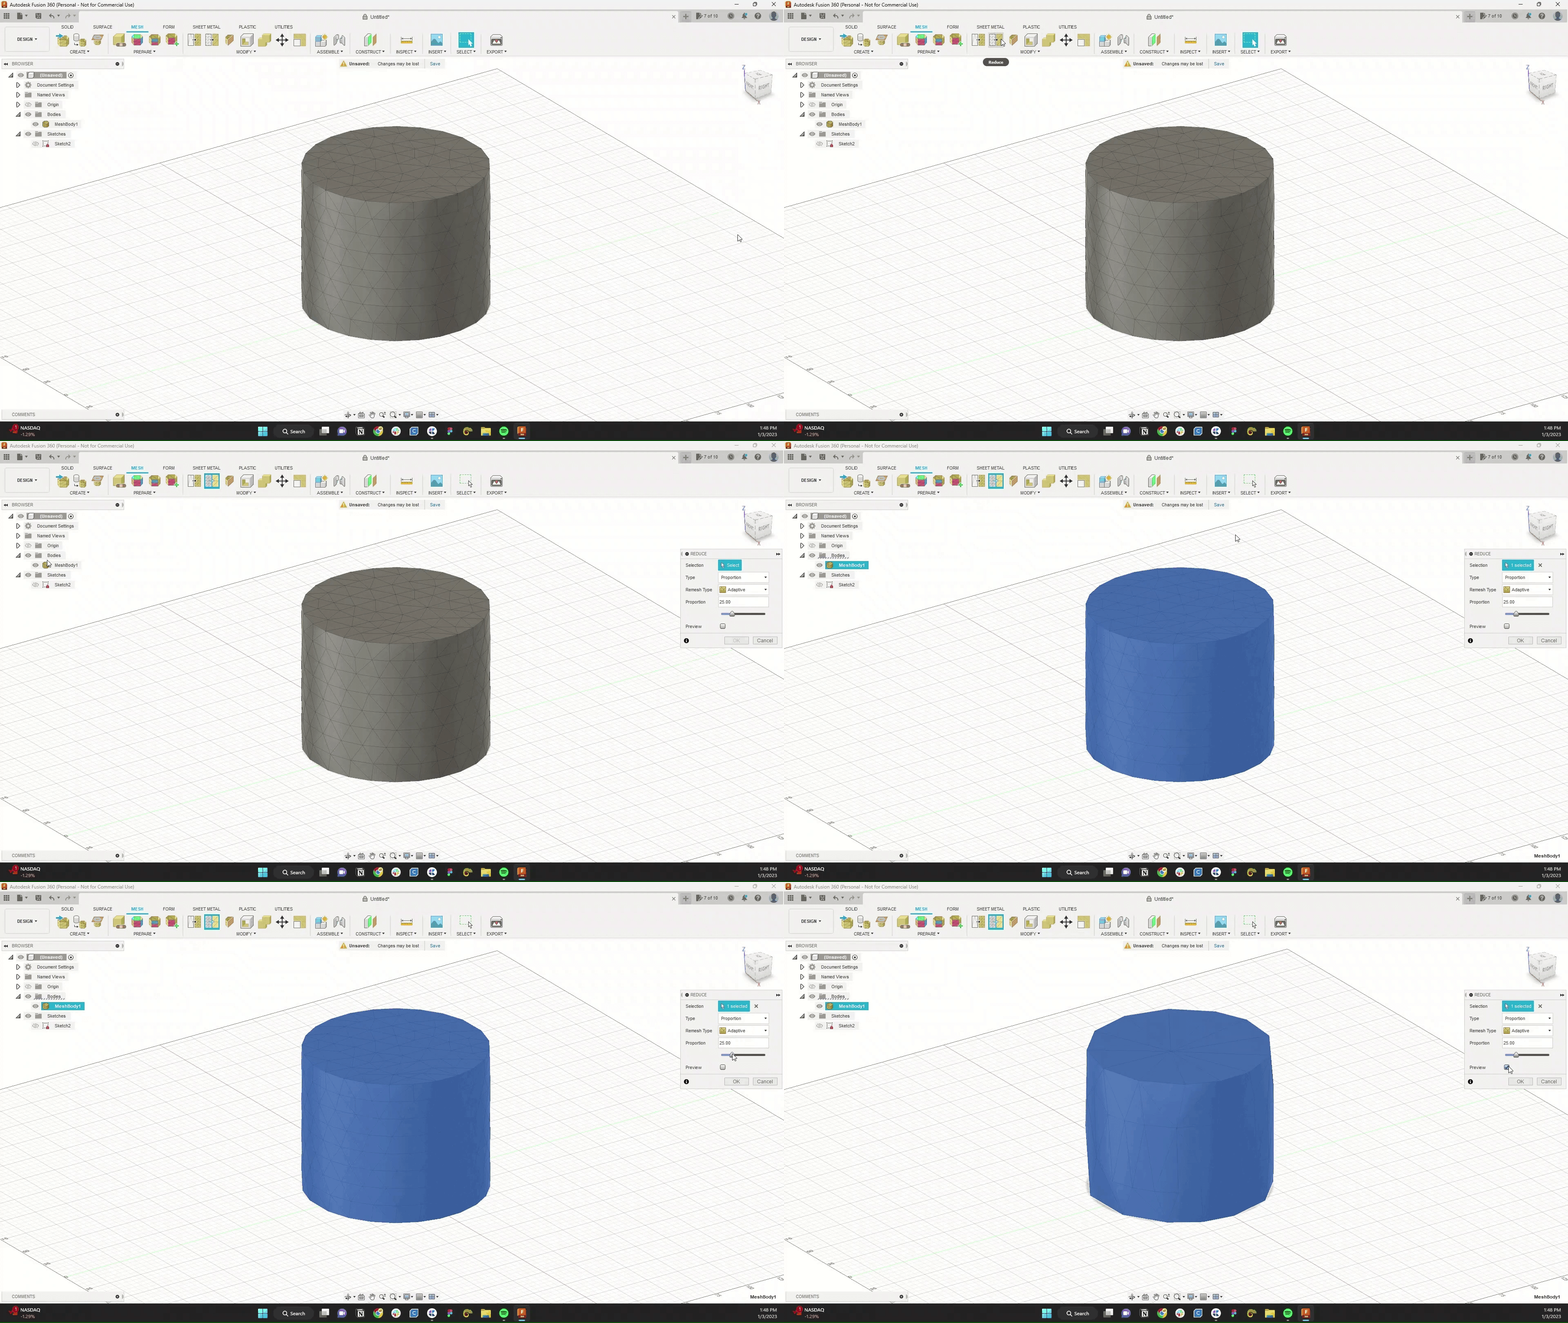
From here, let's convert our mesh back into a solid body.
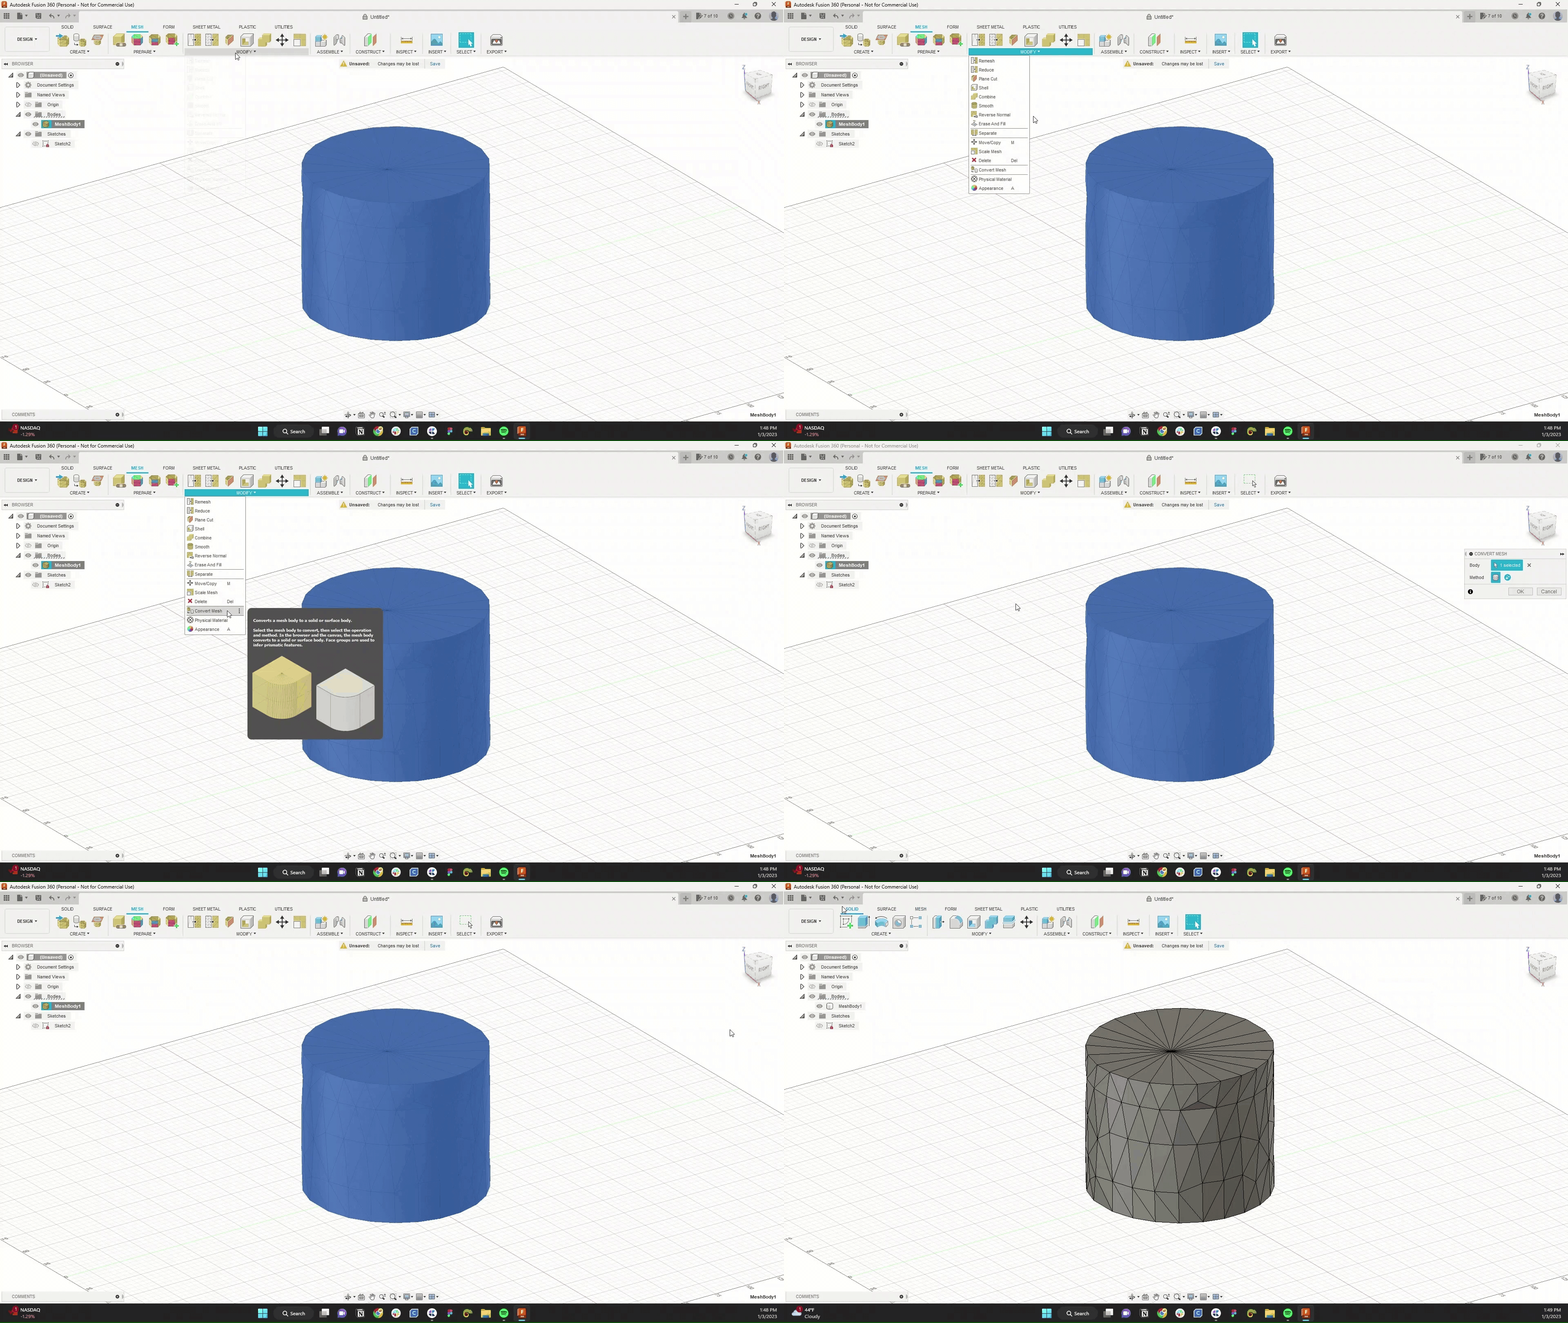
While under the solid tab, you can adjust the order Autodesk will select. Placing lines above the body* will allow the select all functions to prioritize lines before the body. *be sure to turn this feature off when you're done
Select all of the lines from your object that you intend to extrude. While holding shift, you can deselect the lines you aren't interested in.
Under the forms tab, select create a pipe.
Adjust the sizing of your pipes. Smaller pipes will clear up the shape. Reduce the number of segments within your form.
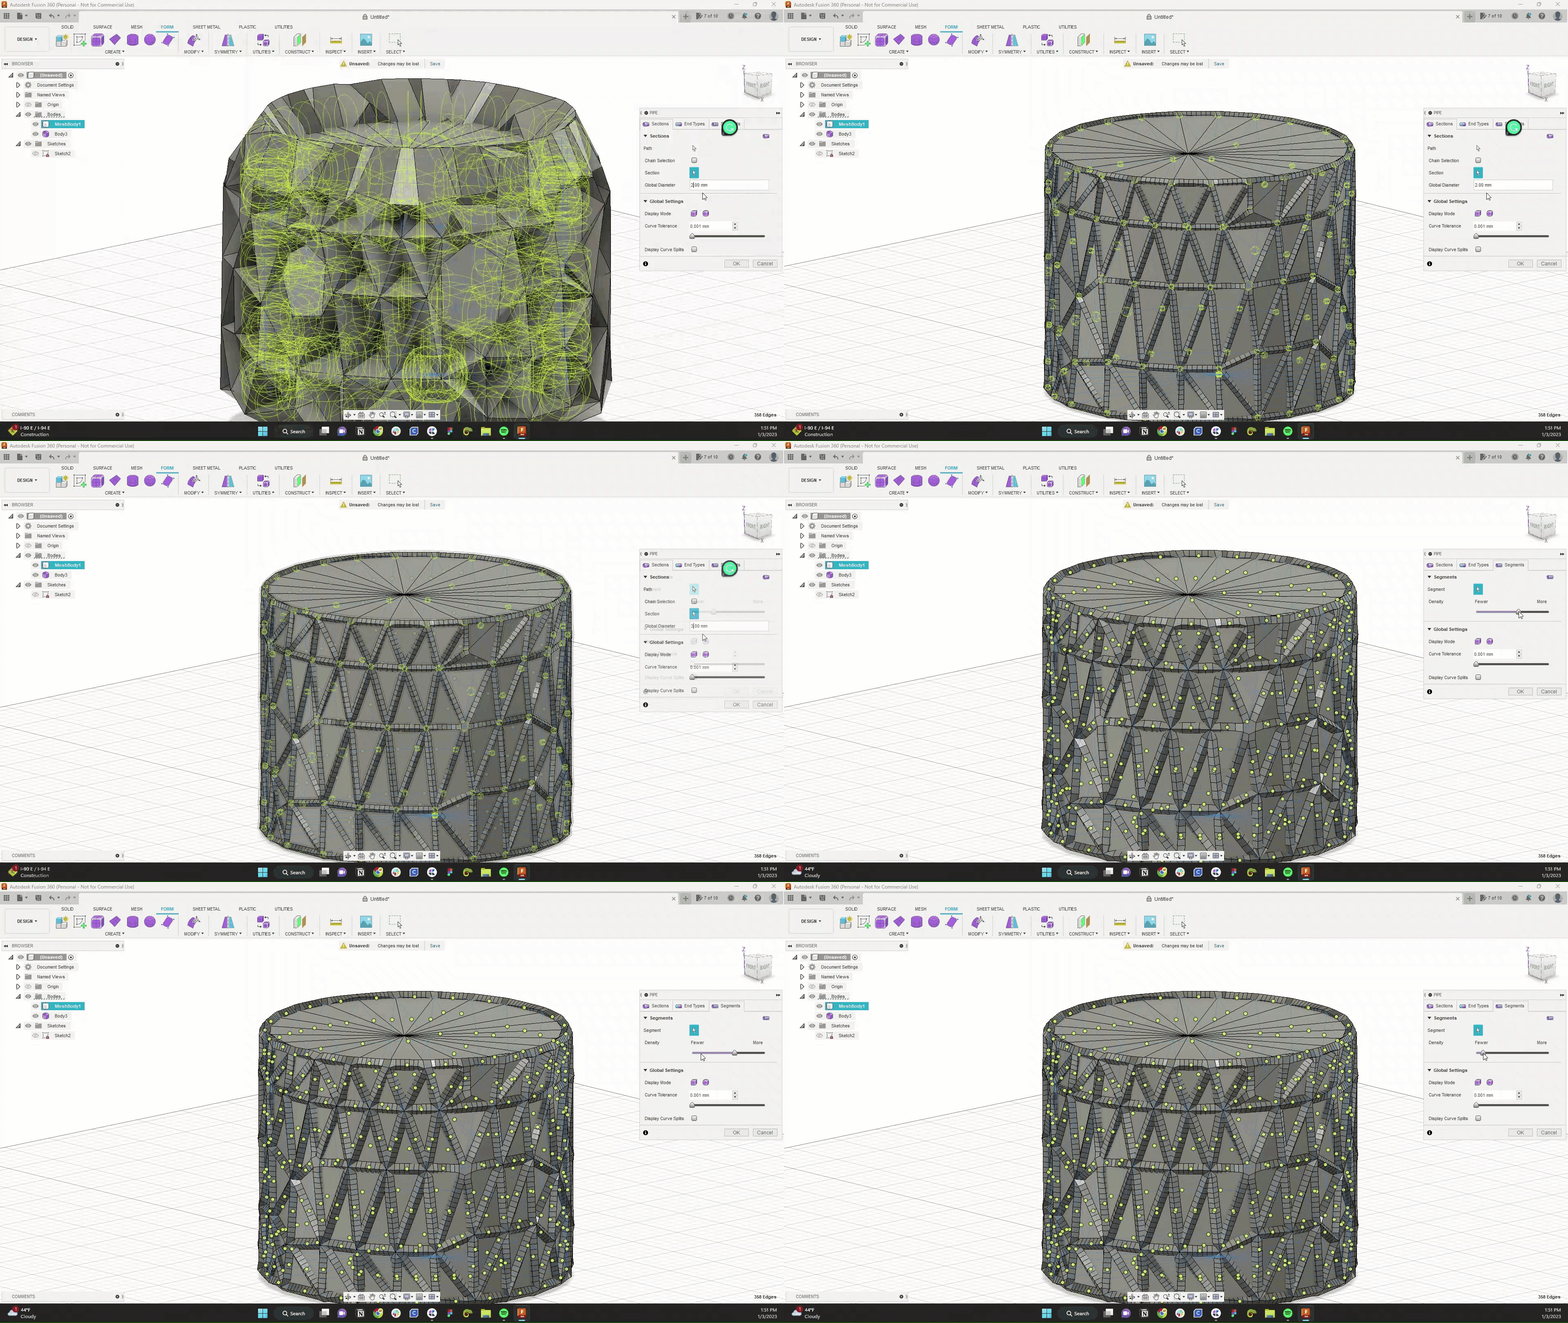
Smooth out its connectors; there you have it, the form for an abstract vase!
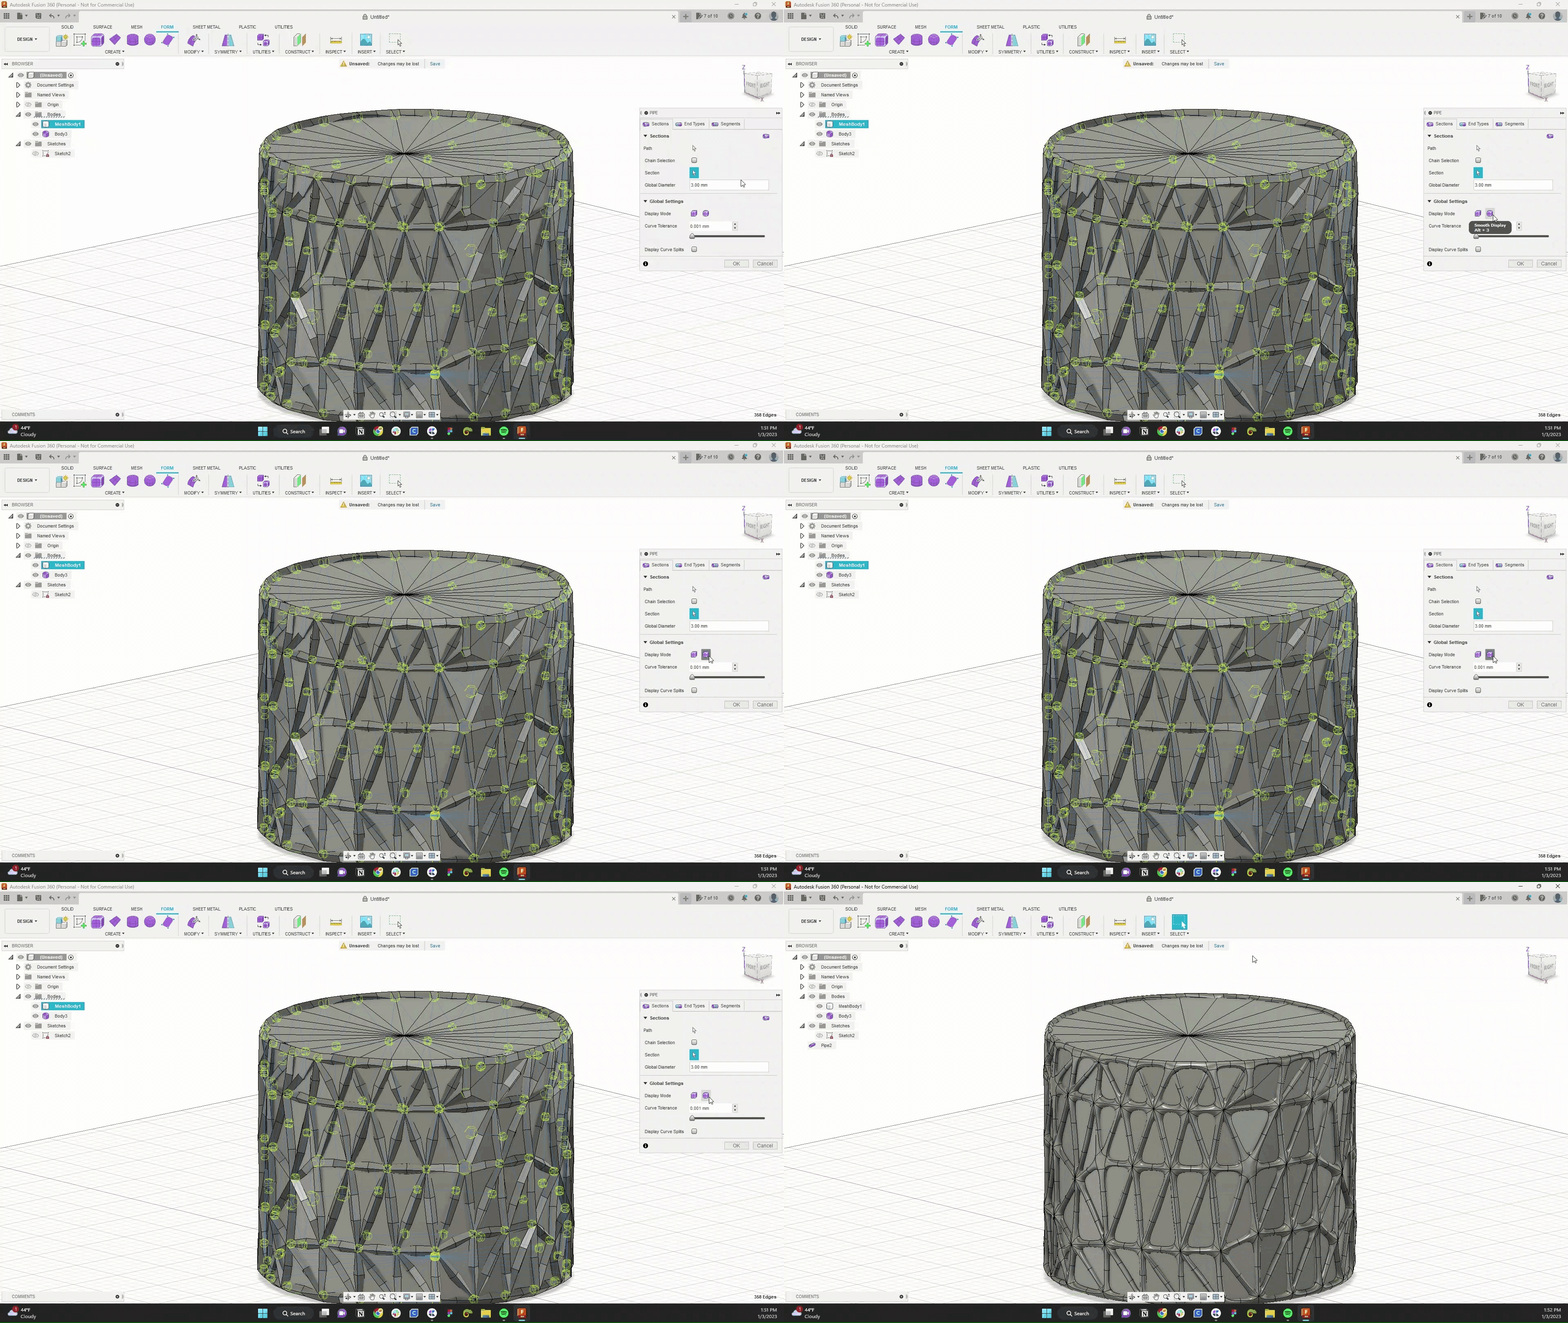
But we're not done just yet. We need a body because you can't download a form as a mesh. We'll use the boundary fill to solve this problem.
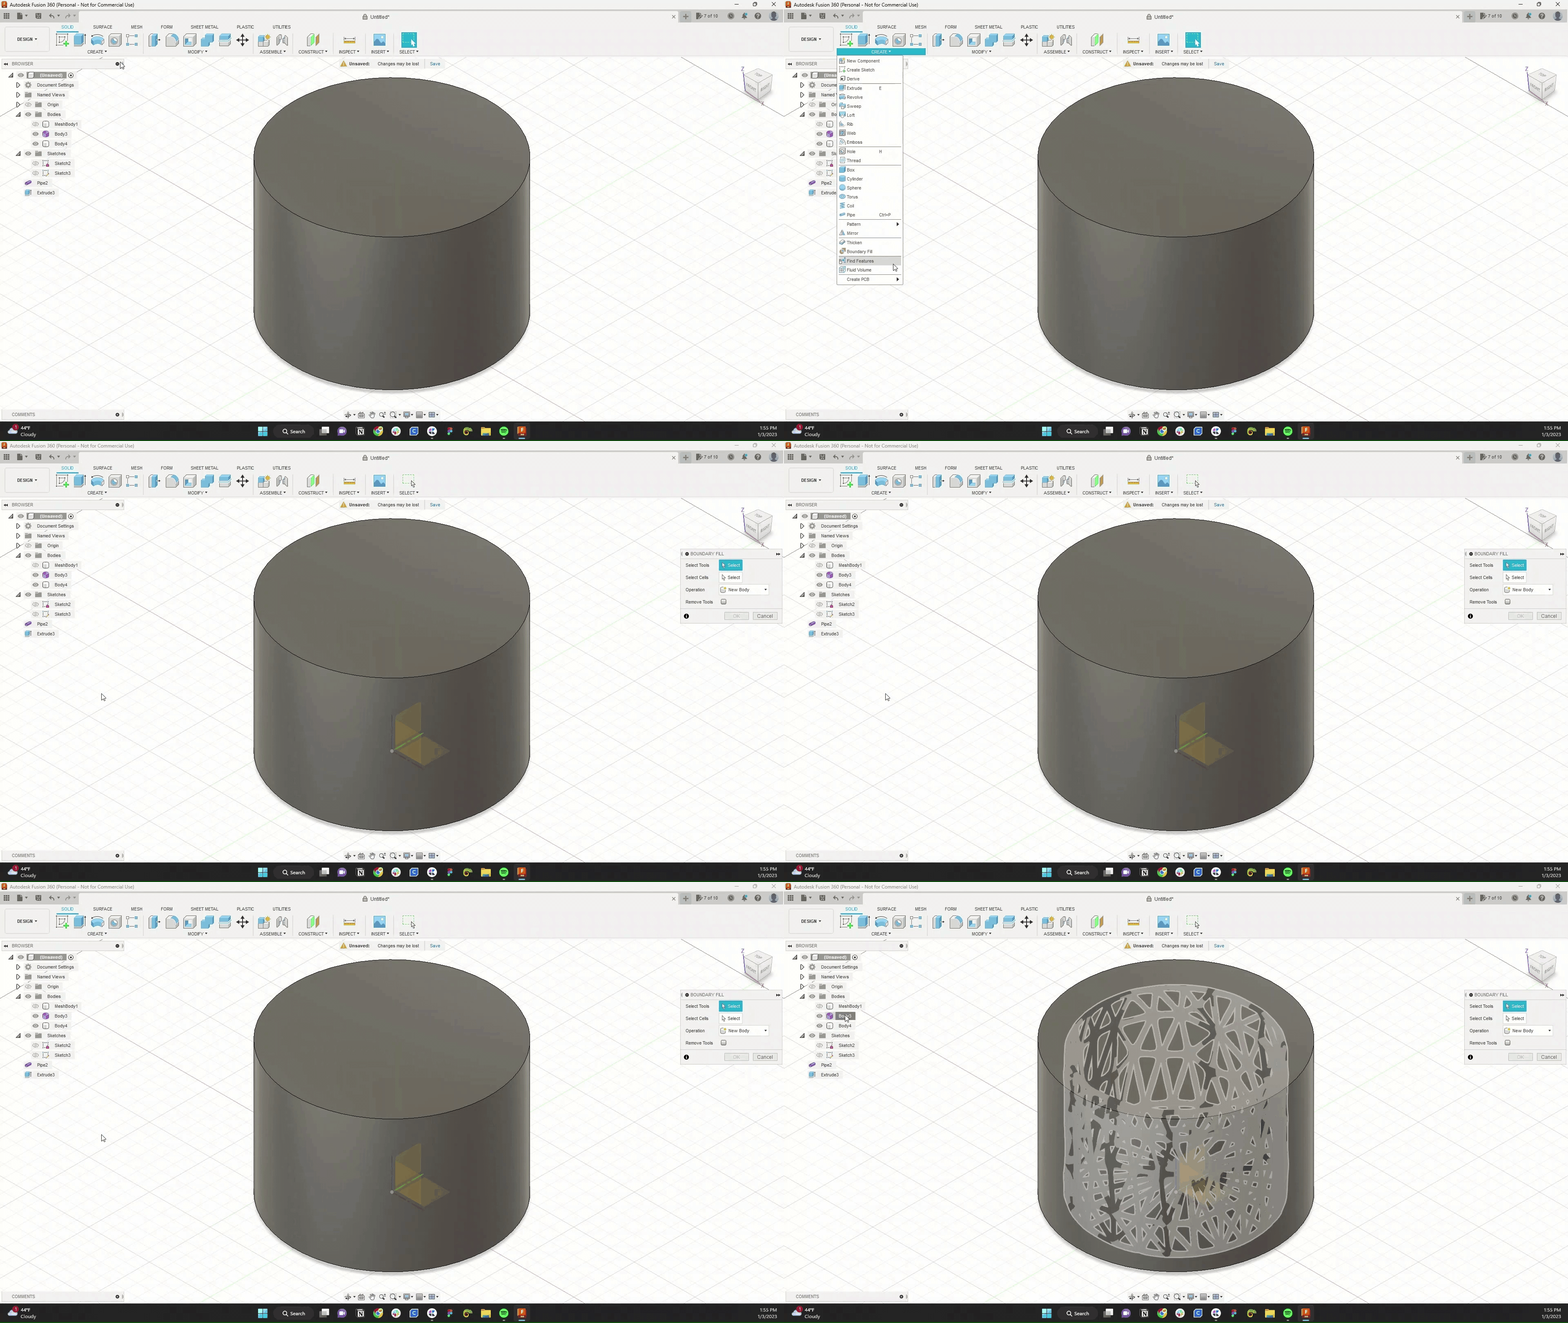
Let's create another cylinder here. It needs to just be larger than our shape. Extrude the cylinder up till it's larger than and covering our vase. Select the boundary field tool. Select the form. Green, it's a good sign. Select the cylinder and for cells, check the checkbox in the middle of both objects. Lastly, change the operation to cut.
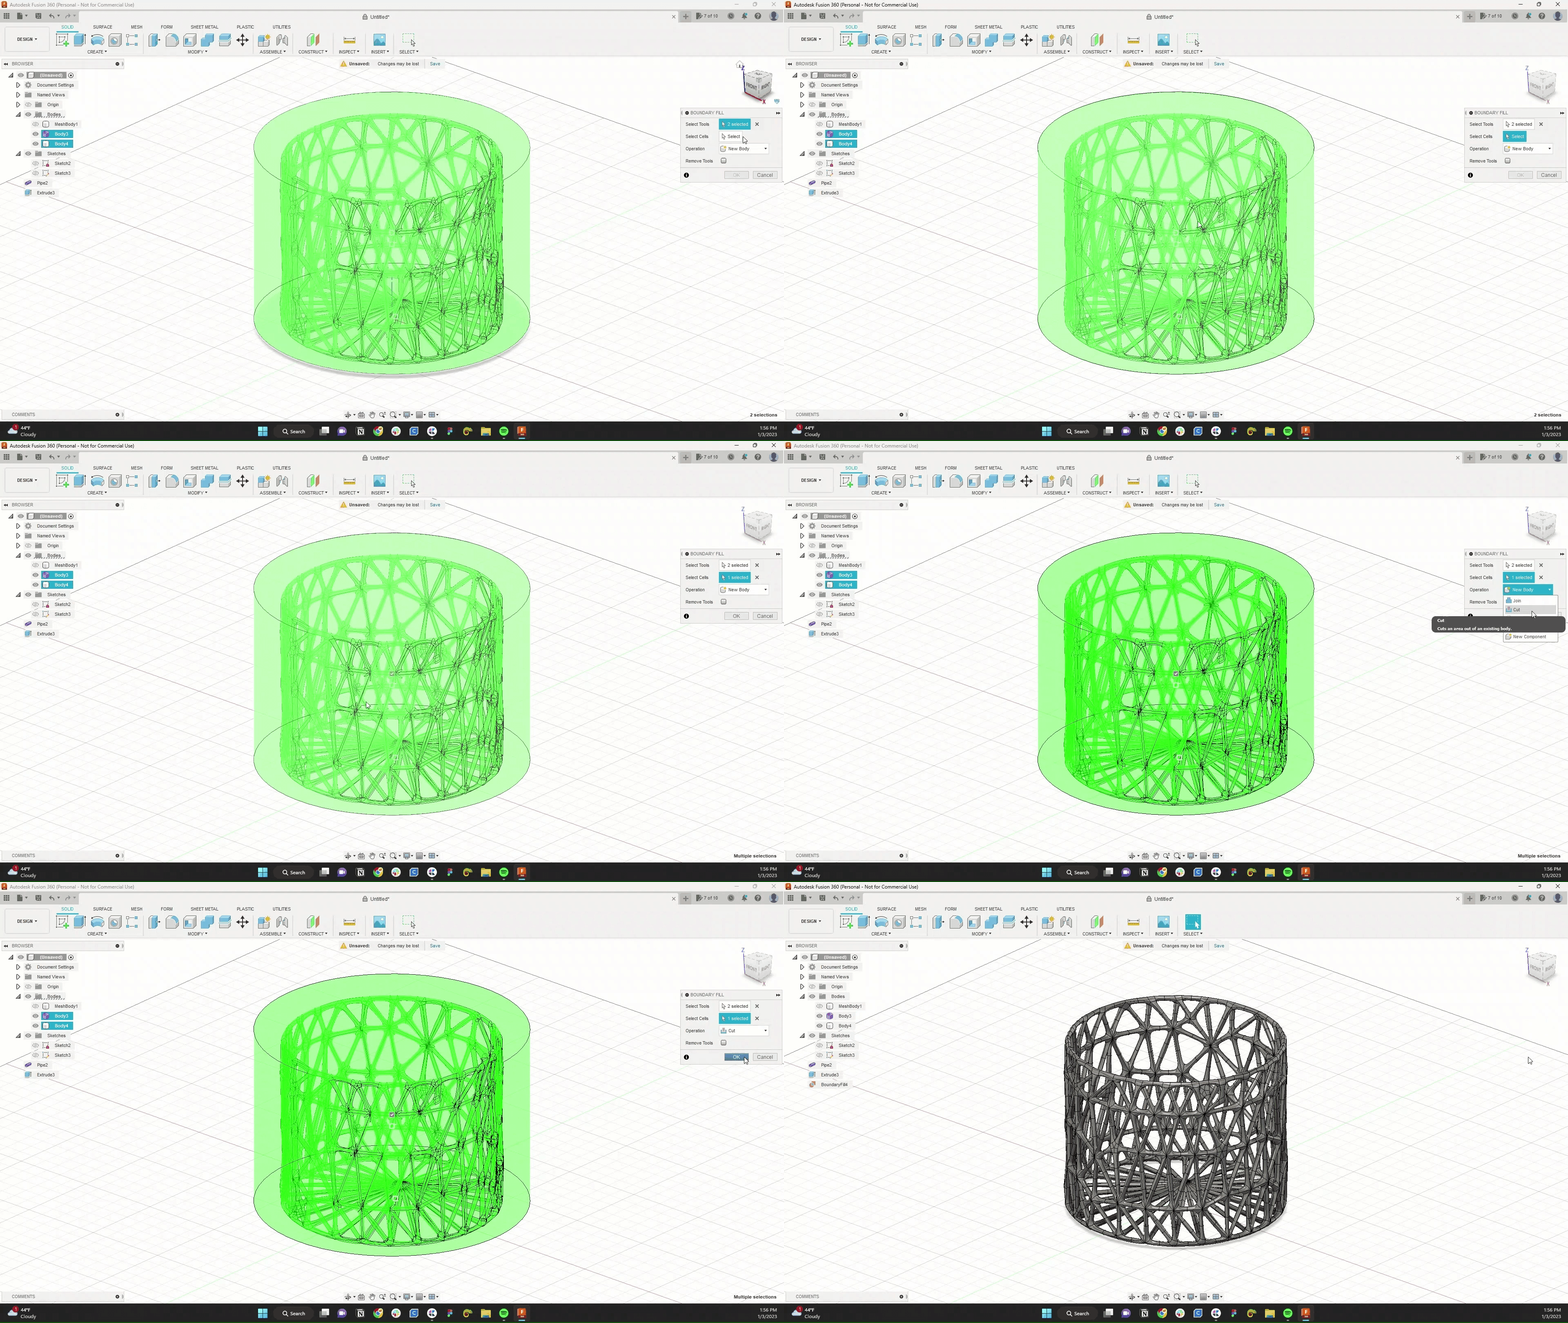
And that's it. A solid abstract vase, one you can save as an STL file for printing. Try switching up your starting object and see what you come up with.

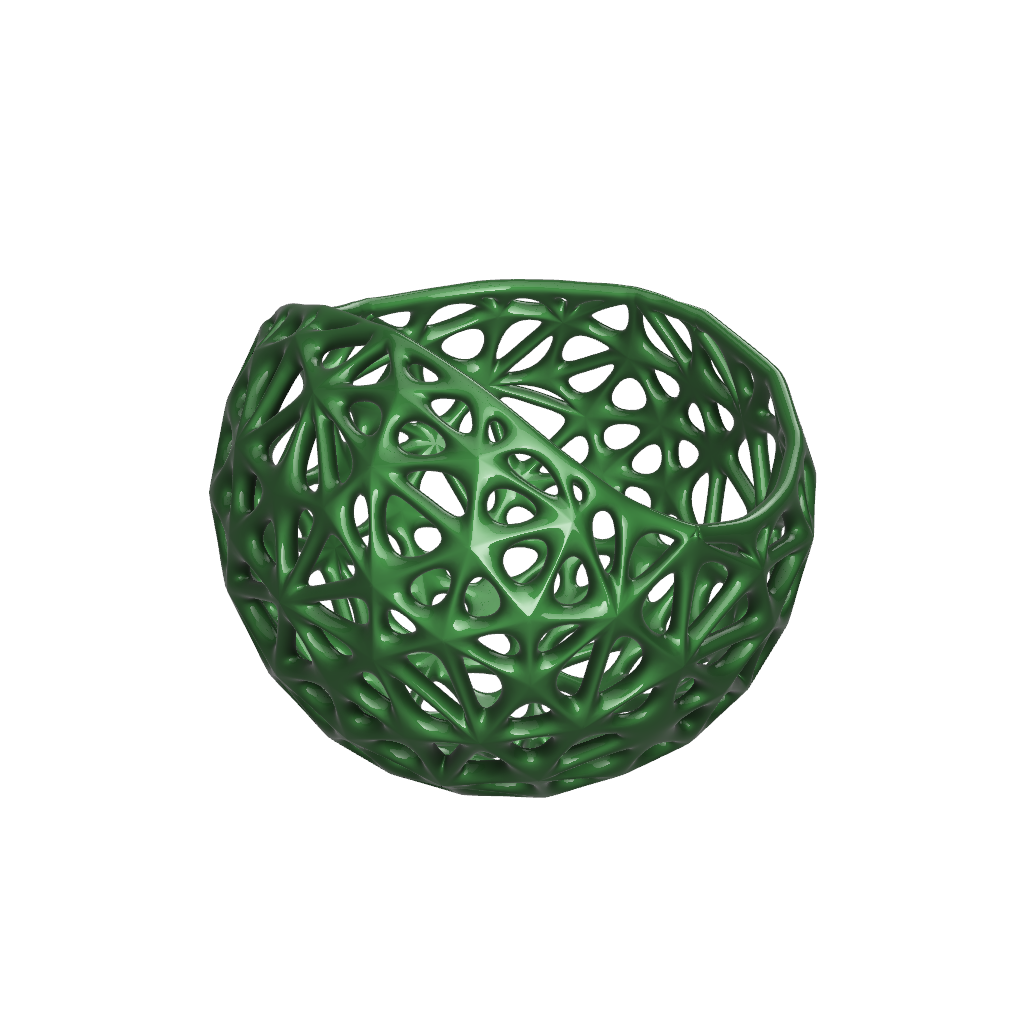
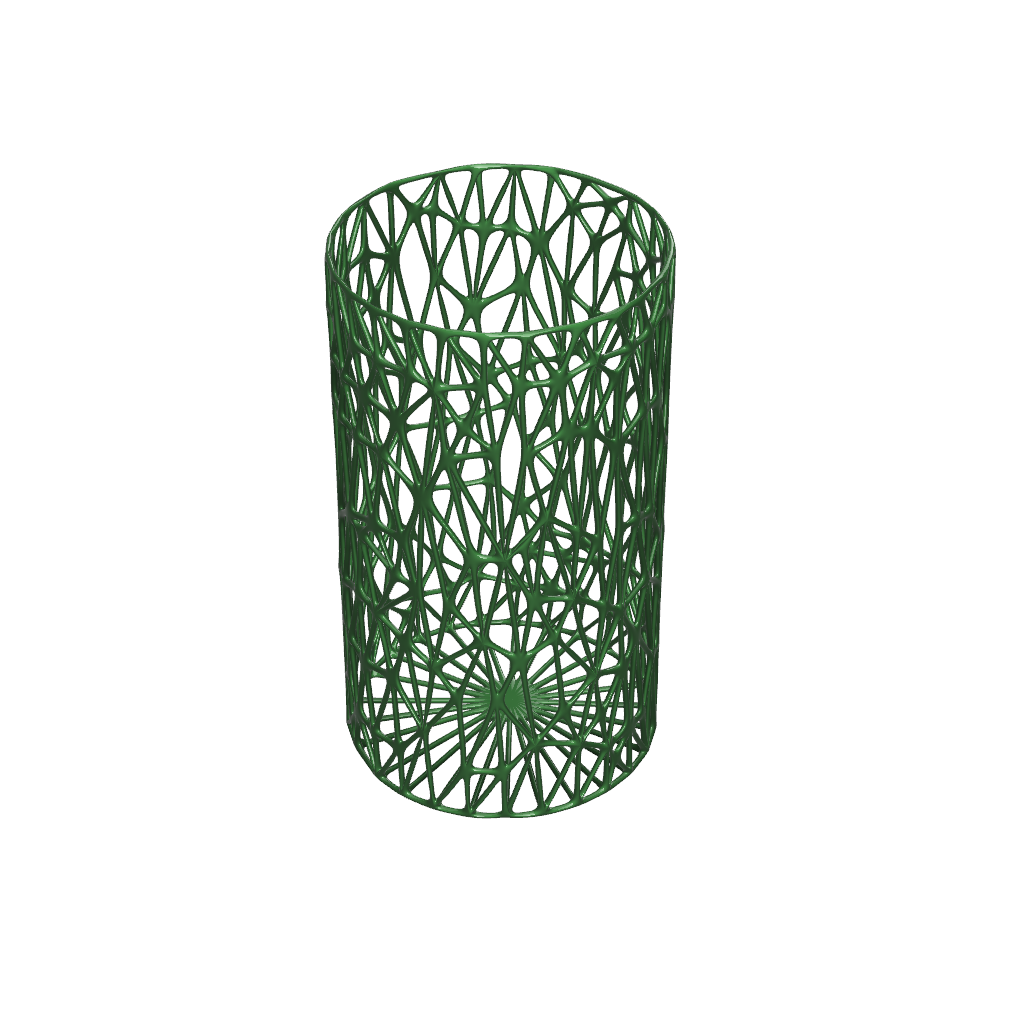
Special shoutout to the Autodesk YouTube channel for showing me how to do this.
Comments ()